🟡 Horse Mask Assembly Tutorial
In this tutorial we are going to make a mask from the Paleo Panthera horse pattern. This will include splicing a pattern piece together, gluing the pattern down to cardboard, cutting it out, and step-by-step assembly.
This will follow the printed instructions that came with your pattern 1:1.
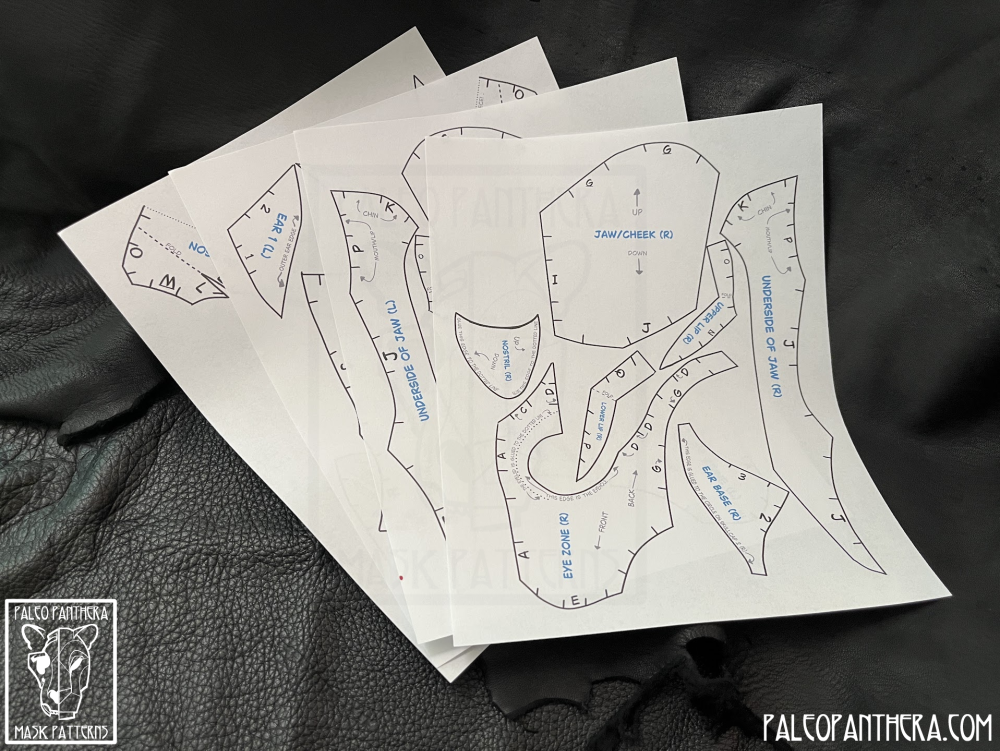
The printed out youth size horse mask pattern.
The tutorial is written so those without mask-building experience can have a successful build; while there are ways to save time, steps, or materials I will not be using them.
Happy mask making!


Splicing the only split pattern piece.

Ta-da!
Let’s begin!
We will assume you have printed your pattern. There is one thing you have to do before you can use this pattern: splice together the piece labeled Skullcap 1 / Forehead / Nose.
The youth size has this piece split vertically; the adult size has it split horizontally. How you attach the pieces is up to you. Remember to splice them together from the back; you want the front to be clean because you’ll paint it later.
I am using the youth size horse mask pattern because I am small.

Step 1:
Glue your pattern to your cardboard. I’ll be using PVA glue for this step and spreading it with a brush. If you’re using EVA foam you will trace the pieces. There’s not a single specific way to lay the pieces out; that’s up to you!
You can be as space-efficient as you like with EVA foam; it’s equally bendable in all directions.
Cardboard has fluting that only runs in one direction; this direction is resistant to bending. If you’re a beginner just try to make sure all your pieces are mirrored in regards to the fluting. That way the mirror pieces will bend alike; this keeps the mask straight and is less frustrating to assemble. Make sure the pieces do not overlap each other. Let your glue dry thoroughly because next is…
Step 2:
Cut out your pattern. I’m going to use my trusty Olfa slide lock utility knife.
This step is going to take some time. Make sure that you’ve protected your work surface; the sharp craft knives most people use will go through cardboard and EVA foam like butter…right into the table you’re using. Likewise be aware of where your fingers are; try to cut away from yourself whenever possible.
1st Tip: when cutting out pointy shapes it works best to start your cutter away from the points and draw the blade towards said points. If you try to push your cutter into a pointy shape it’s prone to smunching.
2nd Tip: If your blade starts dragging, skipping, or otherwise requires a lot of force it’s time to change out your blade.

All the horse mask pieces cut out together. Ready for Step 3!

Step 3:
Find the Skullcap 1 / Forehead / Nose, Chin, Underside of Jaw, Upper Lip, & Lower Lip pieces. Anywhere it says to fold…you fold! Fold AWAY from yourself for all pattern pieces except one: only the Underside of Jaw piece will fold TOWARDS you.

I like to use a straight edge to help me fold cardboard.

The upper & lower lip pieces folded. The original pattern had the lips in 4 parts not two, but you get the idea. Your pattern will only have 2 pieces.

Nose section folded.

I forgot to photograph this fold before gluing. Oops!

Chin piece folded.

I changed this piece after pattern testing & so don’t have a photo; the Underside of Jaw piece will fold TOWARDS you.
Step 4:
Find the "A" edges on the Skullcap 1 / Forehead /Nose piece & the Eye Zone pieces. Glue them together; you may need to rumple the cardboard. This is the start to the face.


Step 5:
Find the “B” edges on Skullcap 1 and Skullcap 2. Glue them together. This creates the top of the head of the horse. Do NOT glue the “R” edges; the mask is going to undergo a fair bit of flexing which is why the “R” edges are glued last.
Note: I was a wee bit lazy in my pattern cutting and you can see it in all my little white lines outside the pattern borders. If you have this on your mask and your edges aren’t meeting try trimming the little bit of white off until you have just the black border. Sometimes a couple of millimeters makes a big difference in parts coming together!

Step 6:
Find the “C” edges on the Skullcap 1 and Eye Zone pieces. Glue them together. The fold you made in Step 3 is what will allow these edges to meet and create the correct face shape for a horse.
If you’re using EVA foam for your project you may want to score/crease your foam along the edge labeled “fold” from the back if you want a sharper edge. 2mm thick foam aught to fold ok, but 4mm will probably need the crease.
